Start with a sharp image that is large enough for the intended print size. Enlarging a small, compressed picture can make it look soft or blocky. Crop and straighten the image on screen first, and check that important details are not too close to the edge if you plan to use a borderless setting.
Use photo paper made for your printer type, and select the matching media setting. Load the sheets in the correct direction, following the package or printer instructions. A glossy surface may look vivid, while matte paper reduces reflections; neither is universally best. Check that the printer’s selected size matches the paper in the tray.
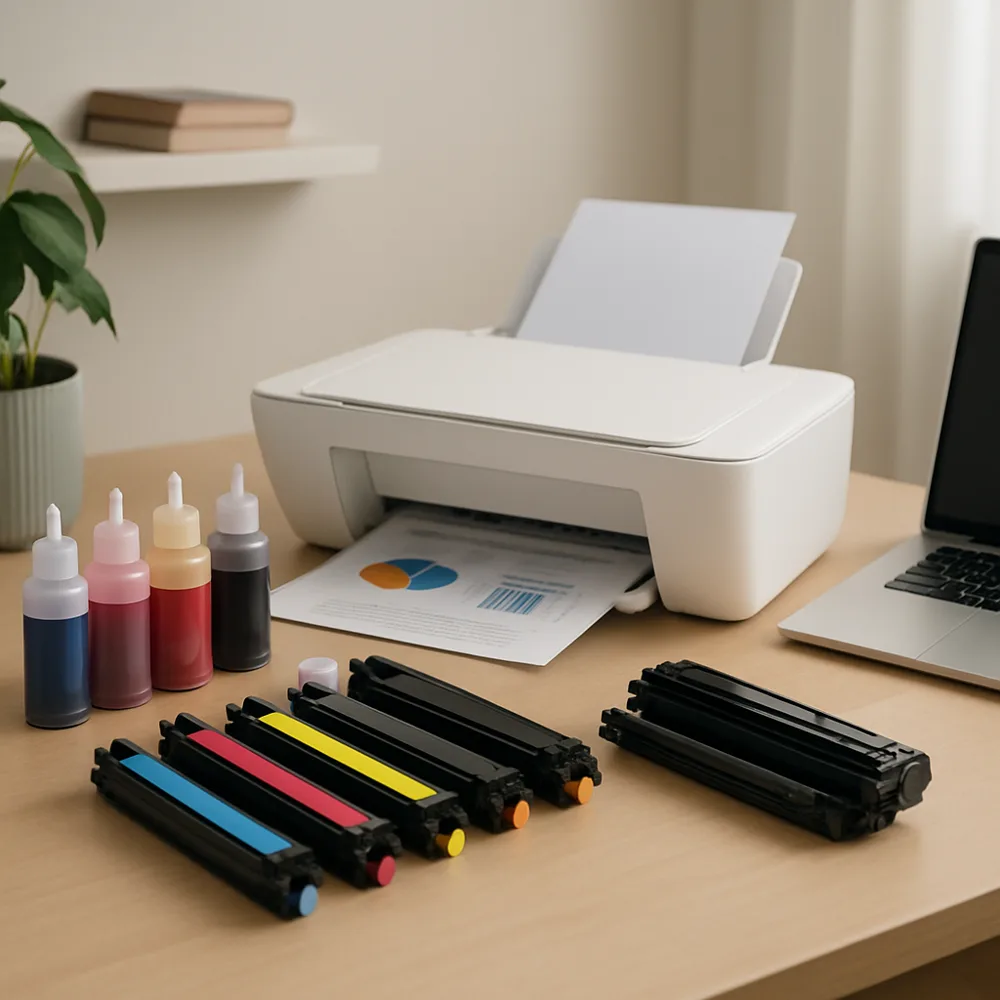
Print a small test or a reduced-size proof before making several copies. Review skin tones, shadows, and fine details in good light. If the result looks unexpectedly dull or streaked, check ink levels and print a nozzle or quality test before adjusting image colors. Changing the picture to compensate for a printer issue can make later prints worse.
Let fresh inkjet prints dry as directed before stacking or framing them. Hold sheets by the edges and store finished photos away from moisture and direct sunlight. A home print is convenient for casual projects, but paper and ink choices strongly affect appearance and durability, so keep a note of settings that produce a result you like.